Sections are the basic building blocks of every Heroic page and are easily customizable.
Some simple pages contain just 1 section. Regular business website pages will consist of anywhere from a couple to a dozen sections, depending on the content in it. More complex pages, such a sales pages can have dozens of sections.
In this article, we'll walk through adding a new section to your page, wherever you want it.
There are 2 ways to add a new section to your page.
Method #1: Adding a prebuilt section
You can think of prebuilts like lego for your site. Just drop them in wherever you need new a content layout. They're great time-savers because we've already done the hard work of building the exact thing you're looking for.
No more trying to shoehorn your page content into a theme that's not quite right. We have lots of prebuilt categories to choose from: you have page banners, text & image sections, testimonials, footers and more.
Using Prebuilts
To add a Prebuilt to an existing page:
- Hover your mouse in between 2 sections of your page
- Click the
 icon
icon
- Click Prebuilt
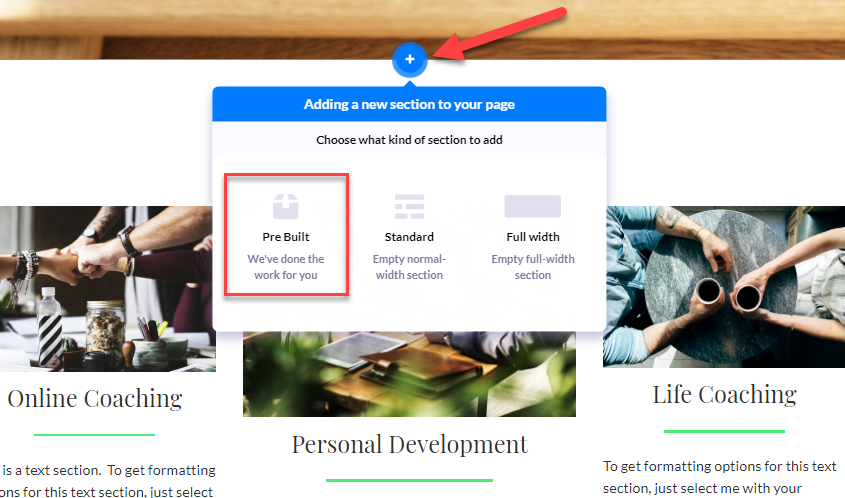
- In the left panel, you'll see the "Filter prebuilts by" section. Scroll through the filter list and select one (e.g., Banners)
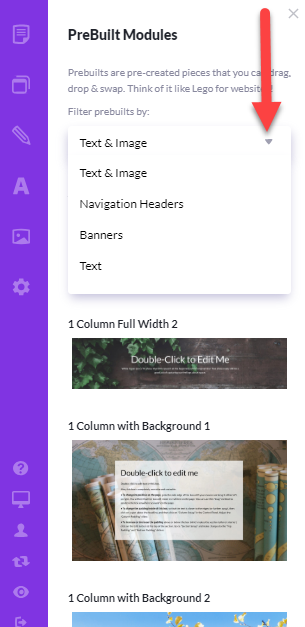
- You'll then see a gallery of Prebuilts to choose from. Simply click on the one you want and it will drop right where you want it
Important: When selecting a Prebuilt, focus on the layout and not the image or text. You can easily change the text and image later.
Method #2: Adding a custom section
Custom sections allow you to create your own page section, completely from scratch. They're useful when you don't find the exact prebuilt you need.
To add a custom section to an existing page:
- Hover your mouse in between two sections of your page until you see the
 icon and click on it
- Click Standard or Full Width to view your options.
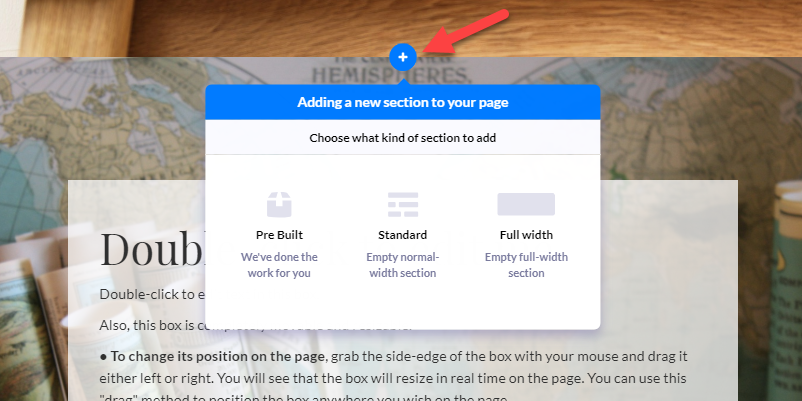
- Select a layout by clicking it
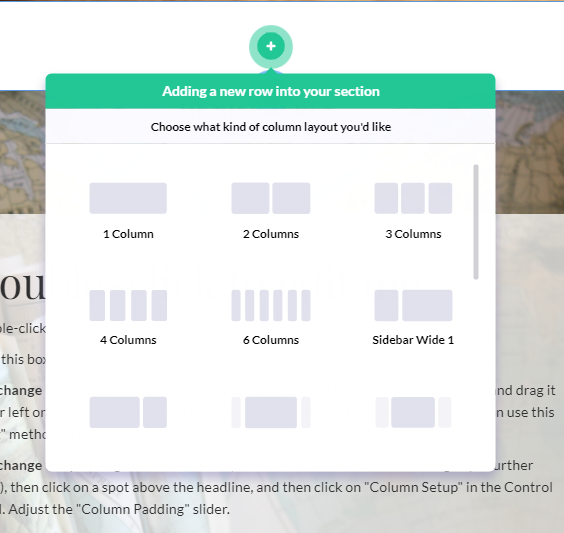
- This opens the Element options based on the layout you chose. Select the Element(s) (e.g., Paragraph)
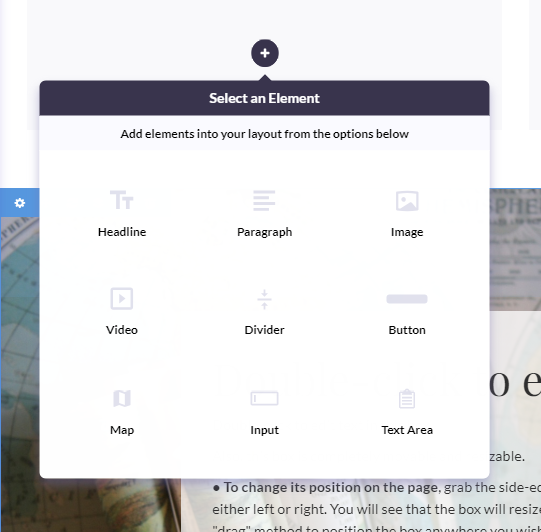
You've now added a custom section to your existing page!
