
To connect your Heroic form with AWeber for the first time, you'll go to the Heroic form you want to set up:
- Click the Setup button
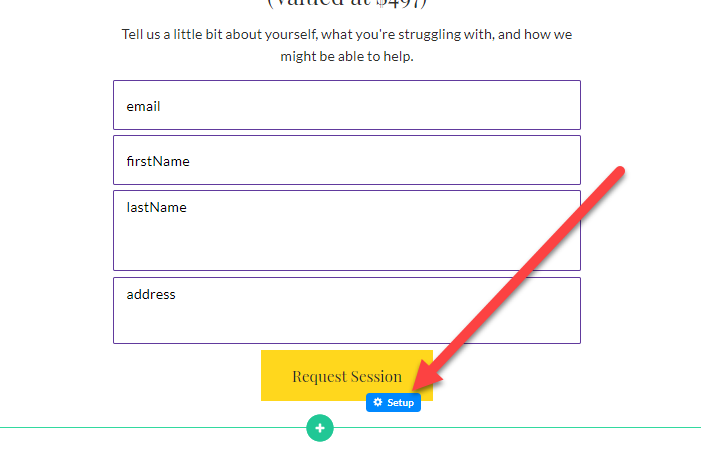
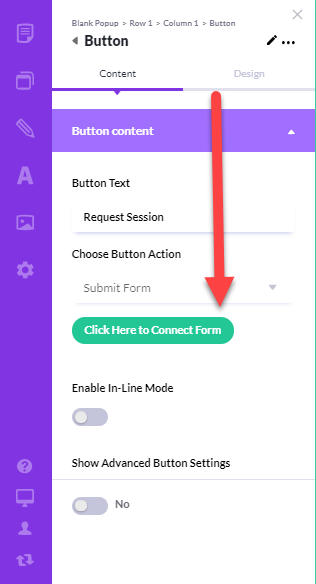
- Alternatively, click Setup in the button toolbar and Click Here to Connect Form in the left Button panel.
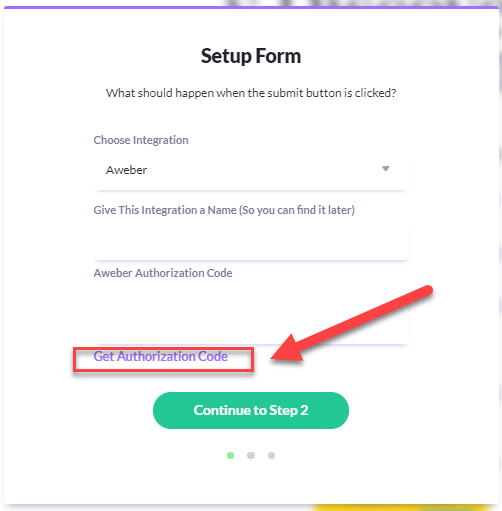
In the Setup Form:
- In Choose Integration, select Aweber
- Enter a name for your integration so you can find it later
- Click on Get Authorization Code and you will be taken to an AWeber sign-in page specifically for the Heroic app
- On the AWeber sign-in page, use your AWeber credentials to log in and click on Allow Access
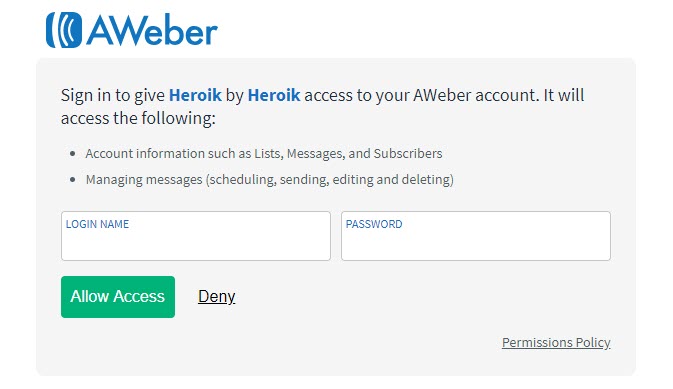
- You will see a box with code in it. Click on any part of the code to select it all, then Copy using Cmd-C (Mac) or Ctrl-C (PC)
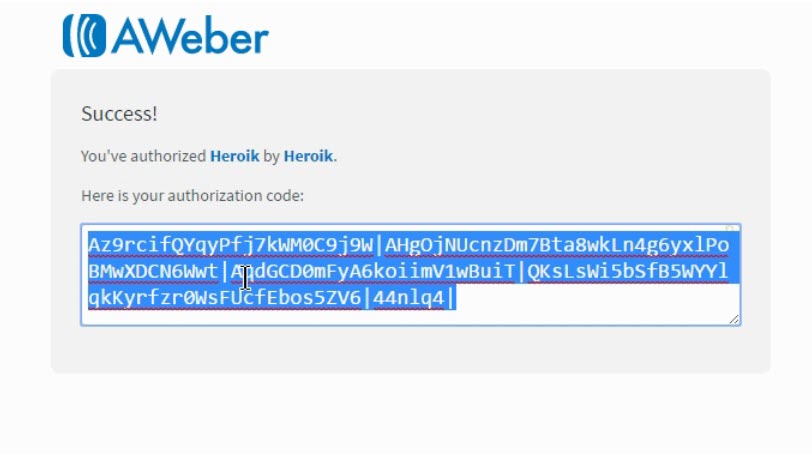
- Go back to your Heroic page and Paste the code into the Aweber Authorization Code box
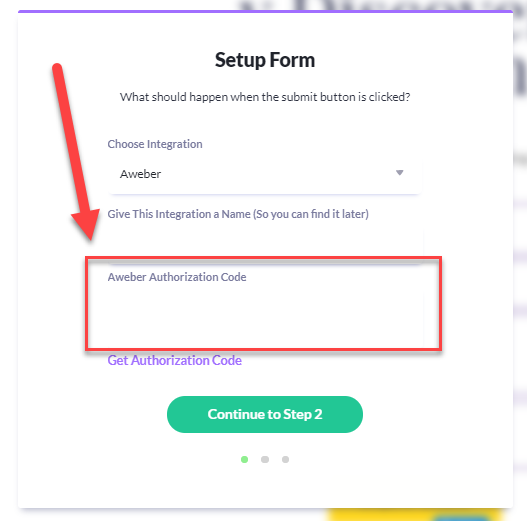
- Click Continue to Step 2
- In the next step, use the field matching tool to connect your AWeber fields with your Heroic form. (Note: You will need to create your Sign Up Form in AWeber in order for the integration to work properly.)
- Finally, choose what should happen after your user submits the form. Select the page to redirect them to in Post Submission Settings.
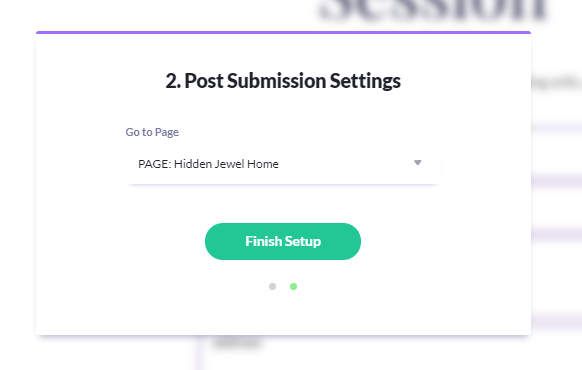
- Click Finish Setup
Your new form is now hooked up and ready for action!