
IMPORTANT: Before starting work, have your ConvertKit API key at hand!
Generating your API Key
image coming soon
- On the API screen, scroll down and click the CREATE A KEY button.
image coming soon
- Copy this string into a text file so you'll have it when you need it:
image coming soon
Connecting your Heroic form with ConvertKit
- In Heroic, go to the form you want to connect to ConvertKit
- Click the Setup button
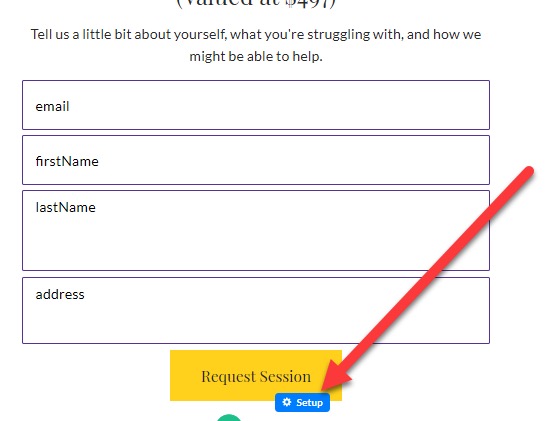
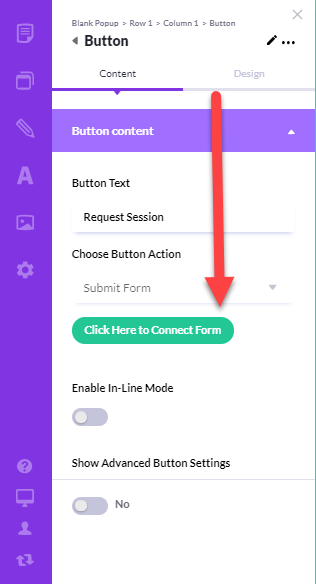
- Alternatively, click Setup in the button toolbar and Click Here to Connect Form in the left Button panel
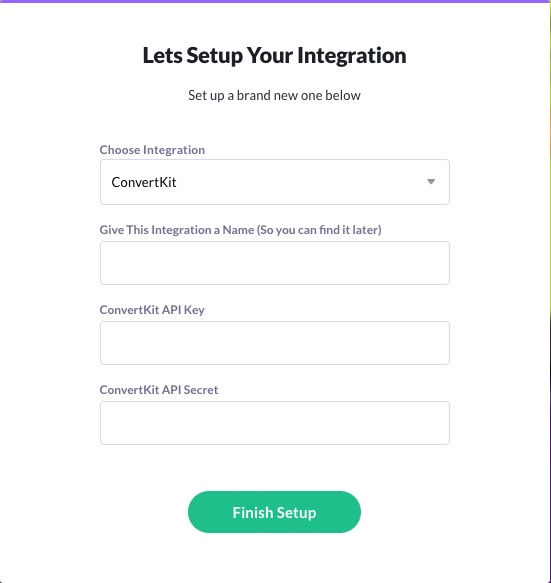
In the Setup Form:
- Choose ConvertKit from the options listed under Choose Integration
- Enter a name for your integration so you can find it later
- Paste in your ConvertKit API Key
- Click Continue to Step 2
- Choose which of your ConvertKit lists to add your new Contact to
- Use the field matching tool to connect your ConvertKit fields with your Heroic form
- In the final step, Post Submission Settings, choose the page your visitor should be sent to AFTER they submit the form
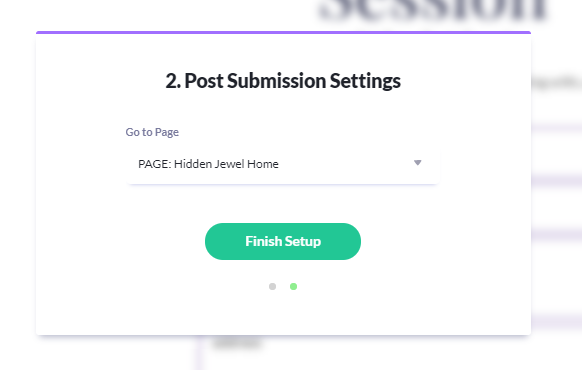
- Click Finish Setup
Congratulations! Your new form is now hooked up and ready for action!