
IMPORTANT: Before starting work, have your Get Response API key at hand!
Generating Your Get Response API Key
- In your Get Response account, go to My Account
- In the left-side menu click on API & OAuth
- Click on the Generate API Key button in the top right corner
- Name your key with something descriptive if you will be using different forms on your site
- Click on the blue Copy button for the key you just created
Connecting your Heroic form with Get Response
To connect your Heroic form with Get Response, go to the form you want to set up.
- Click the Setup button
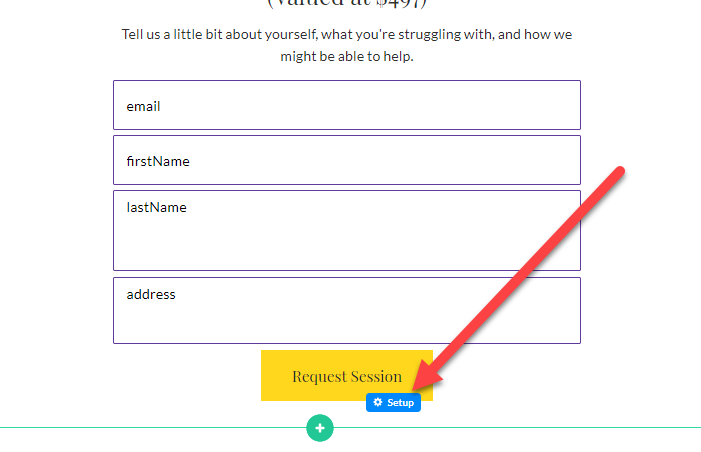
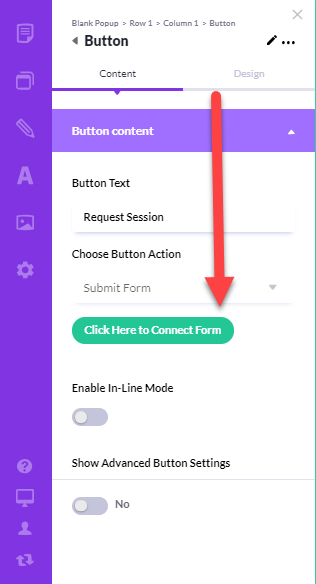
- Alternatively, click Setup in the button toolbar and Click Here to Connect Form in the left Button panel
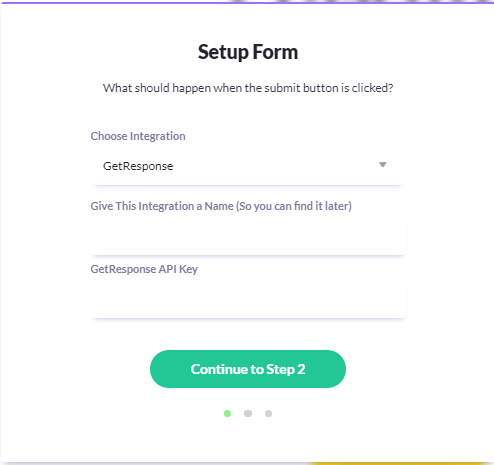
In the Setup Form:
- Under Choose Integration, select Get Response
- Enter a name for your integration so you can find it later
- Paste in your GetResponse API Key
- Click Continue to Step 2
- In Step 2, we've matched your Heroic form fields to your Get Response fields, but adjust as needed li>In the final step, Post Submission Settings, choose the page your visitor should be sent to AFTER they submit the form.
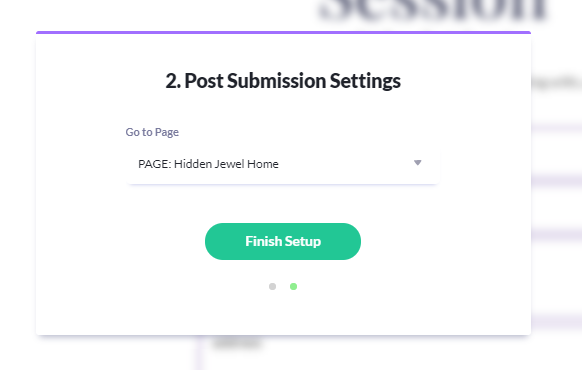
- Click Finish Setup
Your form is now set up and good to go!